
Proper preparation is key for a successful shower installation. Measure space, clear obstructions, and learn the process. Choose right type & components tailored to needs and preferences. Ensure high-quality plumbing and water line installation. Set shower base and pan securely. Fit shower walls, lay tiles, install showerhead. Sealant around base prevents water seepage. Test for leaks, add luxurious features if desired, consult expert for adjustments or issues.
Planning a shower upgrade? Installing a new shower is an exciting DIY project that can transform your bathroom. This comprehensive guide walks you through each step, from preparing the space to final touches. Discover how to measure and clear your shower area, select the perfect shower type and components, install plumbing, set the base, tile walls, and fit the showerhead. End with sealing, testing, and enjoying your newly installed shower—expert tips for a seamless, stunning result.
- Prepare Shower Space: Measure and Clear Area
- Choose Shower Type and Components
- Install Plumbing and Water Supply Lines
- Set Shower Base and Pan: Level and Secure
- Fit Walls, Tiles, and Showerhead
- Final Touches: Sealant and Testing
Prepare Shower Space: Measure and Clear Area

Before beginning your shower installation project, it’s crucial to prepare the shower space properly. Start by measuring the area where the shower will be installed, ensuring that all dimensions align with the size of your chosen shower stall or custom design. Clear the space of any obstructions—this includes furniture, appliances, and decorative items—to provide a clear path for installation. A well-prepared space is half the battle won when it comes to a successful shower installation, allowing the expert to work efficiently without hindrance.
Consider watching a shower stall installation video or referencing a comprehensive guide on shower tile installation to familiarize yourself with the process. This can be particularly helpful if you’re planning a do-it-yourself project. Additionally, understanding the basics of shower drain assembly repair will empower you to handle minor issues and ensure your new shower functions optimally from day one.
Choose Shower Type and Components

When planning a shower installation, the first step is to choose the right type and components that suit your needs and preferences. Whether you’re opting for a traditional tub and shower combination or a standalone shower enclosure, various options are available in the market. Consider factors like space constraints, personal style, and budget while making this decision. A shower installation expert can guide you through the process and help select the perfect fit for your bathroom.
The components to consider include the shower pan, drain, walls or partitions, shower head, faucet, and door or curtain. For a custom look, you might also want to explore unique features like bench seating, built-in shelves, or a rainhead shower system. If you’re dealing with limited space, a corner shower or compact design could be the solution. Moreover, ensure that your chosen components are of high quality and compatible with your plumbing setup, especially when looking into shower head water pressure solutions or considering a bathroom renovation.
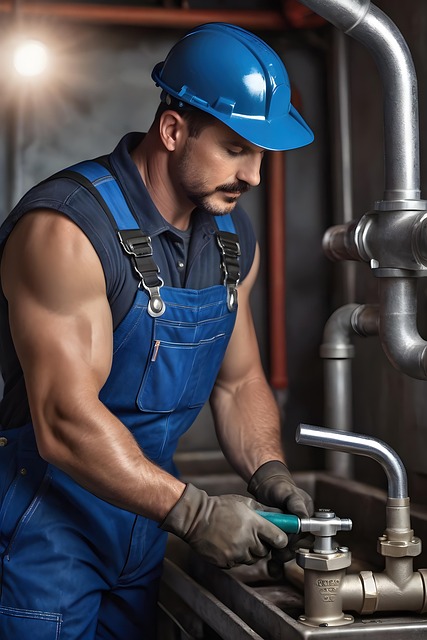
Install Plumbing and Water Supply Lines

Before you can enjoy your new shower, it’s crucial to install the plumbing and water supply lines. This step requires careful planning and might need some professional expertise, especially if you’re not familiar with shower installation. A shower expert can help guide you through this process, ensuring that all components are properly connected and aligned.
The first task is to locate and prepare the existing water lines. You’ll want to shut off the water supply at the main valve before cutting and connecting new pipes according to your shower’s specifications. Remember, accurate measurements and secure connections are vital for a seamless shower installation. For instance, if you’re installing a shower filter, follow detailed instructions, as provided in a shower stall installation video, to ensure both effective filtration and easy maintenance.
Set Shower Base and Pan: Level and Secure
After preparing the shower area and selecting your shower components, it’s time to set the shower base and pan. This step is crucial for a successful shower installation, ensuring a level and secure foundation. Start by carefully placing the shower base against the wall, making sure it aligns with the marked reference points from your initial planning. Use level tools to verify that the base is straight and even across its width and length.
Once satisfied with the positioning and leveling, secure the shower base with appropriate fasteners. For a permanent solution, consider using strong adhesives designed for tile and stone installations. With the base firmly in place, you can now focus on installing the shower pan, following similar steps of alignment and securing to create a sturdy framework for your new shower enclosure—a key aspect mastered by any shower installation expert.
Fit Walls, Tiles, and Showerhead

After preparing your bathroom for the new shower, the next step is to install the walls, tiles, and showerhead—a crucial part of any shower installation. Start by fitting the shower walls, ensuring they are level and secure. This step involves measuring, cutting, and installing wall panels or tiles to create a watertight barrier. The process may vary depending on your chosen material, but it typically requires precise measurements and careful alignment to achieve a seamless finish.
Once the walls are in place, it’s time to lay the tiles. Bathroom renovation specialists recommend using water-resistant tiles suitable for wet areas. Arrange the tiles according to your design, leaving a small gap between each tile for grout. This gap not only ensures a neat look but also allows for any minor adjustments during installation. After laying the tiles, install the showerhead by connecting it to the existing plumbing or a new water supply line. A seamless shower floor installation is then achieved through careful tiling or the use of pre-formed shower bases.
Final Touches: Sealant and Testing

After completing the installation process, the final touches involve applying a high-quality sealant around the base of the shower to prevent water seepage. This crucial step ensures your shower remains waterproof and secure for years to come. Choose a suitable sealant designed for bathroom use and apply it evenly, following the manufacturer’s instructions. Once dry, test the shower thoroughly by turning on the water and examining for any leaks at the seals or connections. A shower valve replacement guide can be useful for troubleshooting common issues during this testing phase.
If you’re looking to enhance your custom shower design and install, consider incorporating additional features like a rainhead or body sprayer for a luxurious experience. An emergency plumber Bromsgrove can assist with any last-minute adjustments or fix any unforeseen problems, ensuring your shower installation is flawless and meets all safety standards.
Installing a shower is a complex process that requires careful preparation and attention to detail. From measuring and clearing the space to choosing the right components, setting the plumbing, and adding final touches like sealant, each step is crucial for a successful and safe shower installation. Rely on a shower installation expert to ensure your new shower meets all safety standards and enhances your bathroom experience.